10 Photography Tips For A Winter Worth Sharing
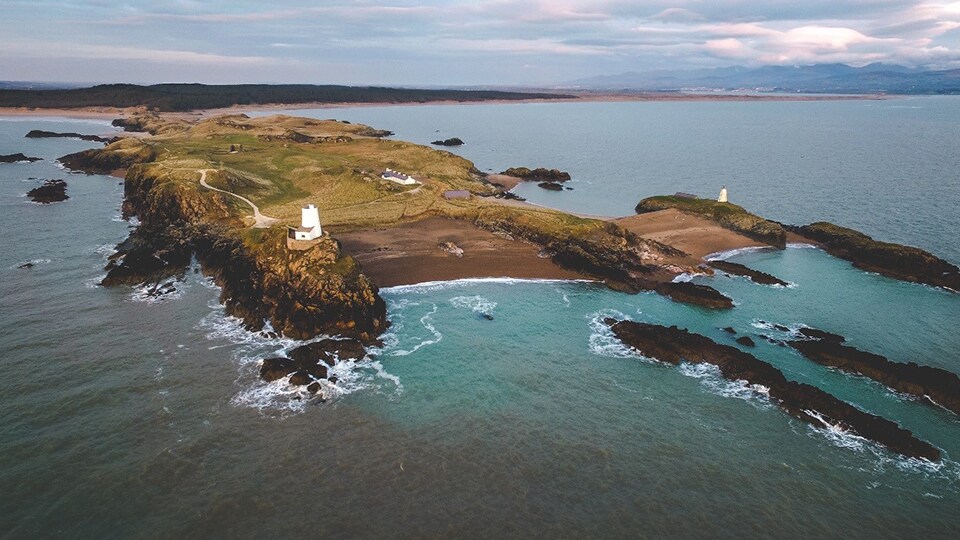
Everyone has a fresh attitude to the year in January, but by the time February rolls around we’re already knackered and more up for staying at home. That’s a shame because there’s still a lot to see, do and discover. Last week I got out on the road with Enterprise Rent-A-Car to the Welsh coast to share an Instagram Live-Stream, showing you how to achieve beautiful photography with long exposure techniques and more. In-case you missed it, here they are again; my 10 tips to help you with long exposure photography and make this winter a Winter Worth Sharing.
1. Location
Such friendliness from a soul we’d encountered just minutes earlier was not to be refused so we said our farewells to Donal and set off in the general direction of Bantry.
Pick a decent location where Long Exposure (LE) would really be shown at its best. Locations such as, water, clouds or cities at night. It can be used other times but these are the most common.
2. Bulb Mode
You will need various equipment to help create LE. A camera that has “Bulb” mode gives you complete control on how long you can open the shutter for. Having a camera that allows you to expose for up to 30 seconds or more without using “Bulb Mode” should also be able to give you that LE look depending if you have all the other equipment mentioned below.
3. A Sturdy Tripod

It’s imperative that your camera stays as still as possible when exposing during a Long Exposure shoot. If it moves, your image will be ruined. A heavy aluminium tripod is always the best to keep the camera nice and still, especially in windy conditions. Note: If you’re walking long distances the tripod will be very heavy, make sure you factor this into your journey.
4. Filters
Various filters such as Neutral Density and Graduated filters are a must if you want to create LE during the daytime. The darker the filter, the longer you can expose for. There are many brands out there that sell these types of filters, I recommend Lucroit. They’re great filters at affordable prices compared to many.
When you start getting used to working with filters, you can start stacking them to create more dramatic sceneries.
Note: You will also need a filter holder. When you’re purchasing filter rings the thread needs to be the same size as the lens with which you wish to use to create LE.
5. Shutter Remote
A remote helps when you’re in “Bulb Mode” to control how long you open the shutter for. You can do this with no remote if your camera has the option of taking long exposures with a timer. Be aware that most cameras only have a maximum of 30 seconds. You may need longer with some LE shots.
6. Composition

Use the “Rule of Thirds” technique. It is one of the most important steps to taking any image. Imagine a grid through your viewfinder that’s the same as a noughts and crosses board. When you’re shooting any landscape try and place the horizon line either on the top or on the bottom third. If you have a subject within the landscape or point of interest try placing it on one of the intersections on the grid for a more interesting composition.
7. Golden Hours
This is what can elevate most outdoor photography shots. Think about the light in terms of its quality. How much light will there be and what direction will it be coming from.
The golden hour is the hour before sunrise and sunset. During this hour the colours and light are the best for any outdoor shot. The light is soft and not too harsh, unlike the midday sun. Every outdoor photographer sets their alarms for sunrise (sunset). The beauty of the rich tones from the colour of the sun adds warmth and texture to rural and coastal shots. This is great to use graduated filters. It can darken the brighter part of the sky to prevent over blown skies.
8. Look Around
We can get transfixed on a view especially when it’s sunrise or sunset. We are drawn to the sun, but be aware that sometimes the magic can be happening in the sky behind you. So always be vigilant to look 360° when composing your shot. Equally if your heading to the coast, make sure you find out the tidal times. This can help in your compositions depending on where the tide is. This can also be useful if you’re on an island that could get cut off from the mainland if the tide comes in. Be very vigilant of this.
9. Clothing
Because creating long exposure is a lengthy process, make sure that you pack for your conditions. If it’s cold and windy, you’ll need some warm clothes whilst you’re standing there waiting for you LE too finish. Same if you’re in the hot sun, make sure you have protective clothing to stop you from burning. Make sure you have water also in your bag, to keep you hydrated.
10. Have Fun

Probably the most important tip. Enjoy yourself. Have fun being outside with nature, give yourself time to take it all in before shooting the landscape. If you feel the moment of the beauty within yourself, I strongly believe it WILL transmit into your images.